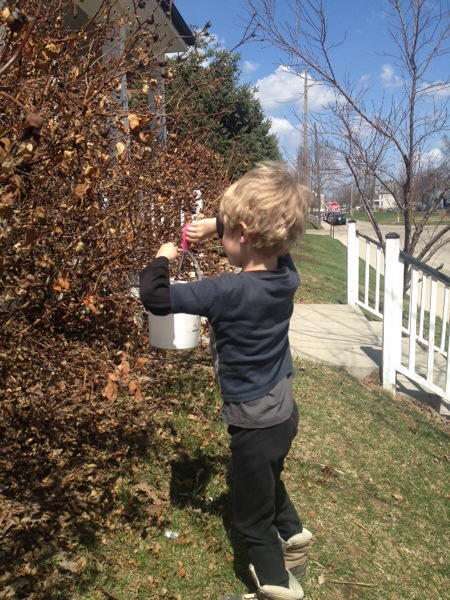
Today I had a canning adventure with a friend. You can read Rachel’s account of the situation over at Harmonious Homestead.
Preserving is fun to do with friends: the workload is shared, more can be accomplished in less time, and it is a great bonding experience. Matching canning burns aren’t usually part of the equation for most, but that’s certainly the part of today that will be most memorable for Rachel and I, and likely for our kids and husbands that witnessed the immediate aftermath.
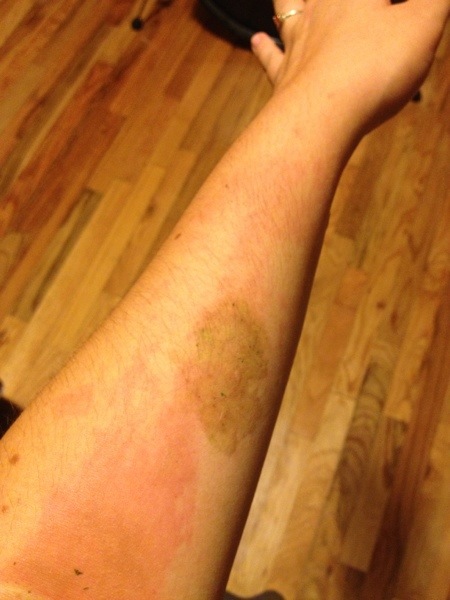
In short, as I was tightening* the Tattler lid on a quart of tomato purée after pulling it from its 85-minute hot water bath processing, the lid exploded forcefully off of the jar instead of fastening down tighter as I turned the canning jar ring with one towel-laden hand and held the searing-hot jar with the other. Boiling tomato purée shot out, clinging to everything in its path – my hand and arm, Rachel’s arm and clothing, the fridge, the cupboards and up to 8 feet away all over the floor. Rachel claims it looked like a stabbing scene.
She and I immediately ran to sinks to cool our skin. My next stop was out Rachel’s back door for plaintain, (the plant, not the banana-like fruit) to apply a quick poultice of the chewed leaves. I pressed the juicy leaves onto my skin, covering as much of the burn as I could without the oozy pulp falling off of my arm, and stayed outside for quite a few minutes. Upon returning to my home a short while later, I repeated the treatment, holding the poultice to the worst spots with bandaids and larger dressings.
I must admit, when I took the bandages off to check on the progress just minutes ago, I was quite impressed. I’ve used this plant before to dress burns, but they’ve only been very small injuries. In fact, I’ve never experienced a burn like this before. Some spots that earlier appeared as though they would be a larger area of blistering have settled right down, and I’ve ended up with only two very slightly raised blisters, each much smaller than the eraser of a pencil.
I obviously don’t have a control for this crude experiment, but I call it an early success. The pain of the fairly serious burn was gone in about 4 hours, and the swelling is remarkably nearly absent already. I’m glad to know plantain.
After a 20-minute application of plantain (note the swelling):

After a 5-hour application of plantain (swelling nearly gone, the green splotch is from the plantain juice):

*The tightening step is one that is particular to the reusable Tattler lids, which have given me delight over multiple canning seasons. I will not hesitate to use these lids in the future, as I believe this was mostly operator error on my part. In the future, though, I will use one-use Ball canning lids for tomato purée.
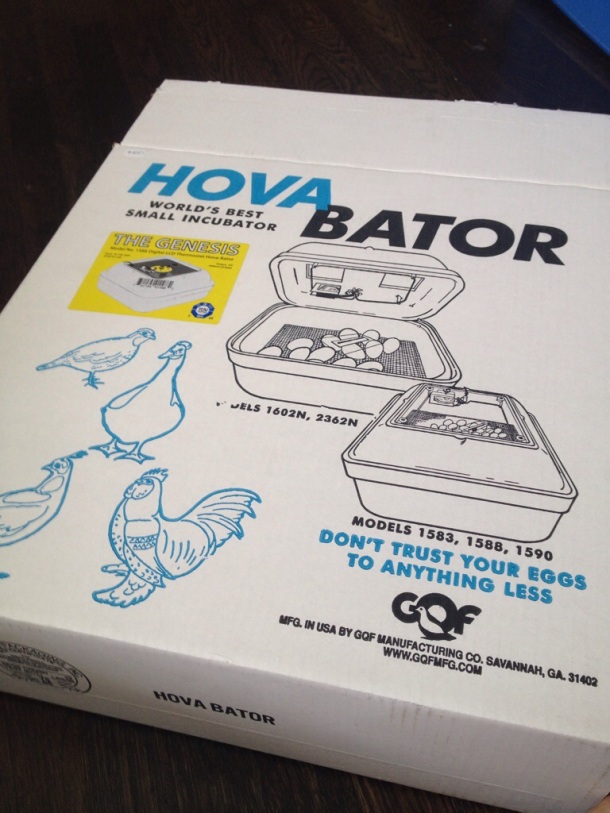
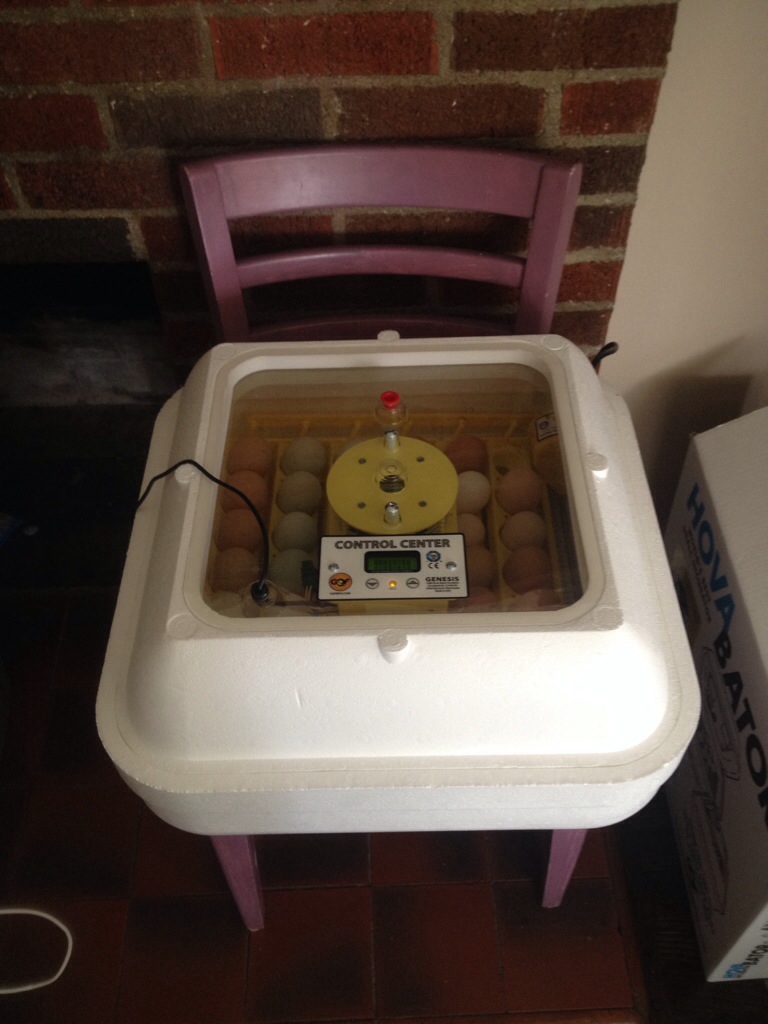
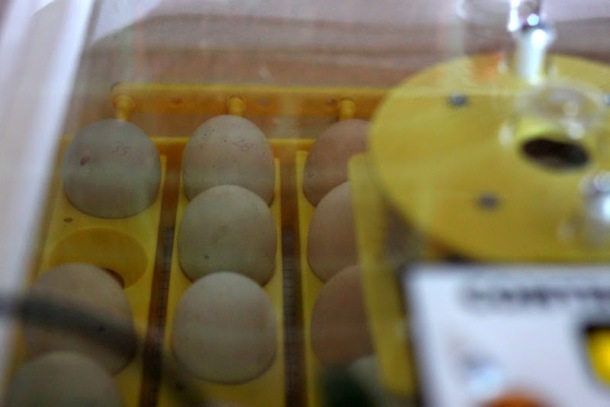 There are varying opinions about the importance, and risk, of candling eggs while hatching them via an incubator. Some feel it is unnecessary exposure to bacteria, which could result in a greater number of developing embryo losses. Others feel it is an essential source of information about how the incubation is progressing and what might be going right or wrong in the incubator. During my first try incubating eggs, I found myself somewhere in the middle, hoping to minimize the risk of contamination while still checking the eggs in order to remove any non-developing eggs and avoid a messy situation. On day 7, I candled each egg for the first time. Previous reading led me to believe that it may be difficult to see the tiny embryos, but i found it to be fairly easy to tell which eggs were developing. Even the blue eggs, with two layers of pigmentation, were fairly easy for me to see through using no special equipment, just the flashlight on my iPhone. I invited Rachel and Lil of Harmonious Homestead over to take a look and assist me with photos. We crowded into the bathroom, our only room without a window. I held my phone in one hand and the egg in the other, sealing the light of the the flashlight as well as I could so that it would shine only through the shell of the egg. The light revealed a spiderweb of veins and a sizable air sac in the developing eggs and just a indistinct cloud of yolk in the duds.
 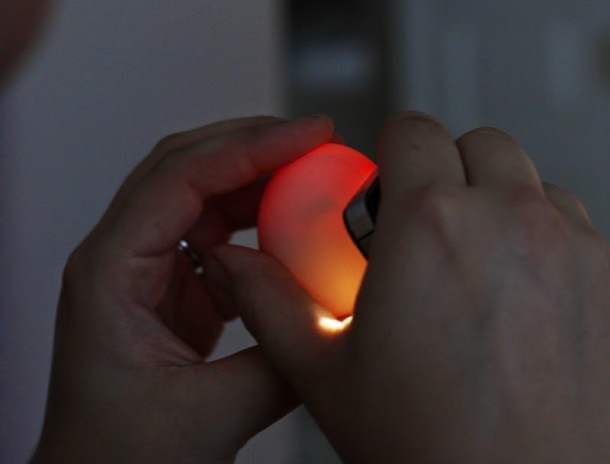 (Viable, developing egg, you can see the embryo as a dark spot just to the left of the corner of the phone.) After candling each egg, I recorded whether or not the egg was developing on a chart. I decided to keep those that did not appear to be developing in the incubator for a few more days before checking them again and discarding them if they were, indeed, lacking embryos.

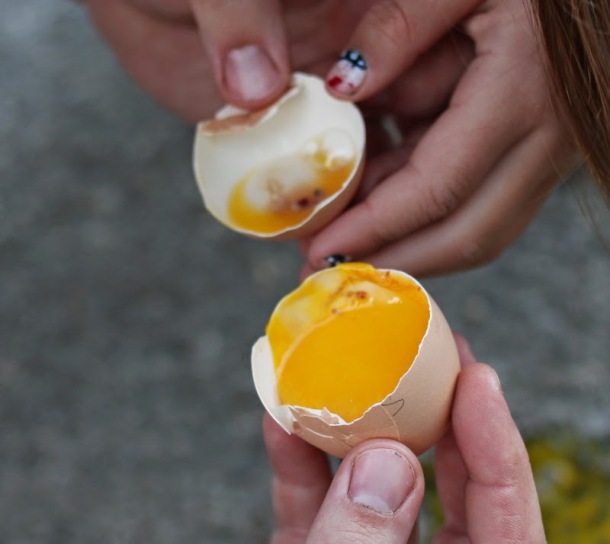 (This egg had a clear blood ring around the yolk. We decided to crack it open and investigate as part of this homesteading/homeschooling activity. The head, body and eye were easy to make out.)