This is the third in a four-post series about hatching eggs from our 5 deceased laying hens who fell victim to a predator, along with nearly all of their temporary flock-mates, during their transitional stay at Harmonious Homestead. For more, read The Absence of Chickens and Incubating Chicken Eggs. 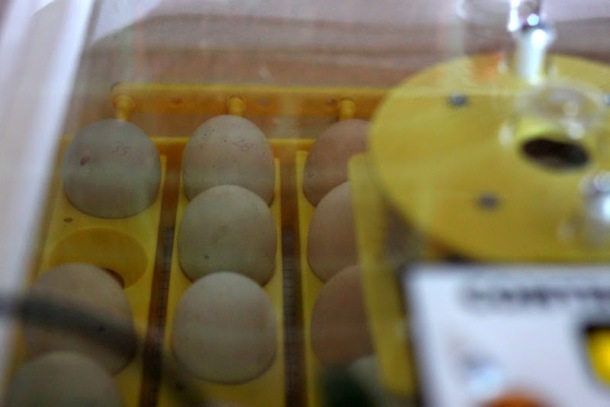 There are varying opinions about the importance, and risk, of candling eggs while hatching them via an incubator. Some feel it is unnecessary exposure to bacteria, which could result in a greater number of developing embryo losses. Others feel it is an essential source of information about how the incubation is progressing and what might be going right or wrong in the incubator. During my first try incubating eggs, I found myself somewhere in the middle, hoping to minimize the risk of contamination while still checking the eggs in order to remove any non-developing eggs and avoid a messy situation. On day 7, I candled each egg for the first time. Previous reading led me to believe that it may be difficult to see the tiny embryos, but i found it to be fairly easy to tell which eggs were developing. Even the blue eggs, with two layers of pigmentation, were fairly easy for me to see through using no special equipment, just the flashlight on my iPhone. I invited Rachel and Lil of Harmonious Homestead over to take a look and assist me with photos. We crowded into the bathroom, our only room without a window. I held my phone in one hand and the egg in the other, sealing the light of the the flashlight as well as I could so that it would shine only through the shell of the egg. The light revealed a spiderweb of veins and a sizable air sac in the developing eggs and just a indistinct cloud of yolk in the duds.
 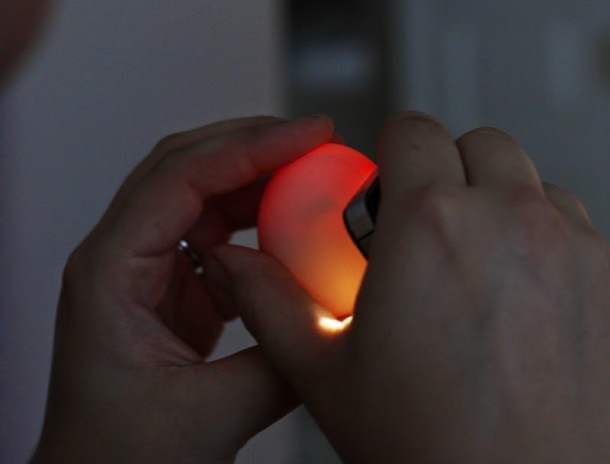 (Viable, developing egg, you can see the embryo as a dark spot just to the left of the corner of the phone.) After candling each egg, I recorded whether or not the egg was developing on a chart. I decided to keep those that did not appear to be developing in the incubator for a few more days before checking them again and discarding them if they were, indeed, lacking embryos.
  (Another developing egg. Note the spiderweb of veins, slightly difficult to make out in this photo, and the visible air sac at the top of the egg.)
  While it was a little disheartening to find that many of the eggs from Rachel’s rooster Shackleton II weren’t developing, we knew the experiment was a long-shot from the beginning. Many of the eggs from her next door neighbor were viable and developing, though. So I knew my clutch would hatch quite a few purebred Ameraucana chicks in just two more weeks.
 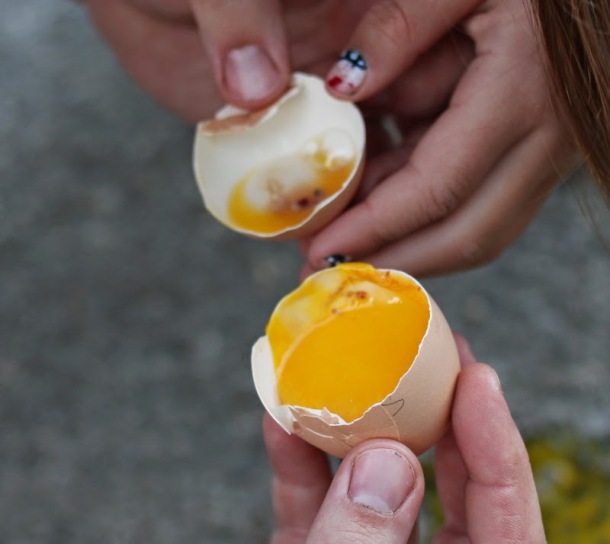 (This egg had a clear blood ring around the yolk. We decided to crack it open and investigate as part of this homesteading/homeschooling activity. The head, body and eye were easy to make out.)
- Comment
- Reblog
-
Subscribe
Subscribed
Already have a WordPress.com account? Log in now.
